Unlocking Windows Mobile Device (Lumia)
Below is the prerequisite for the same:
- Windows Lumia Phone Device
- Windows Phone Recovery Tool (Download URL)
- Qualcomm Emergency Download drivers (Download URL)
- Windows Phone Internal
- Download FFU Image from your Lumia mobile device http://www.lumiafirmware.com/
(Note: Before you start please make sure you download all above prerequisite.)
Unlocking devices with Windows Phone Internal is only possible for devices below with mentioned Firmware Versions:
Currently these models are supported for unlocking the bootloader:

OS versions are currently supported for enabling Root Access:

HeathCliff has released a tool called “Windows Phone Internals” that allows Windows phone owners to unlock their smartphone’s bootloaders, gain root access, and even create and run custom ROMs.
Below are the steps which has to performed Unlocking Windows Device. For this tutorial, we’ll be using Window’s Lumia 920 Device.
Step 1: Installing Lumia Driver
This is mandatory steps which allows user to download windows firmware specific to your windows mobile phone devices.Install windows phone recover tool from Microsoft Site. Download Link
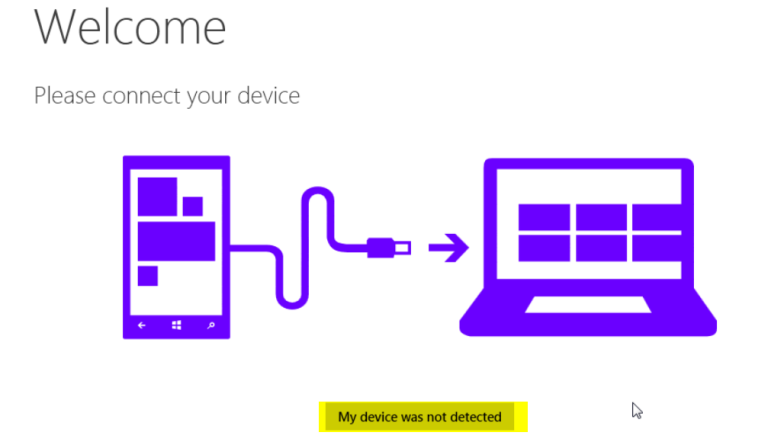
Lumia 920 Not Detected
Installing Qualcomm Emergency Download driver is optional but I would recommend to performing this step as my mobile phone was not detected by Window Phone Recovery Tool.
Installing Qualcomm Emergency Download drivers
Extract and place the Qualcomm folder on your desktop.
Tricky Part: Installing the certificate file to download Qualcomm Driver. Windows 10 does not allow users to install third party driver certificate in “Trusted Root Certification Authorities” category
To disable certificate driver signature verification, please follow below steps:
- Run Command prompt as Administrator and enter below command
shutdown /r /o /t 0- Then go to Troubleshoot Startup Setting option

Microsoft Choose Option
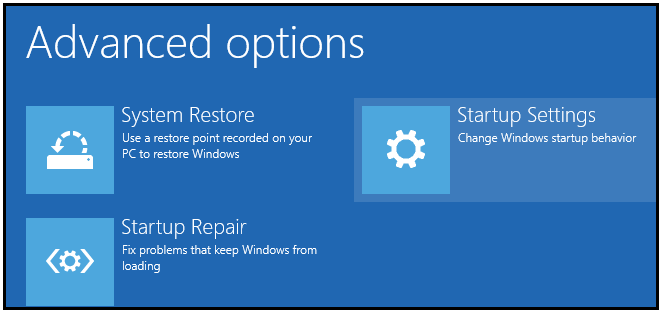
Microsoft Advanced Option
- You will be given a list of startup settings, which includes “Disable driver signature enforcement” as shown below screenshot.
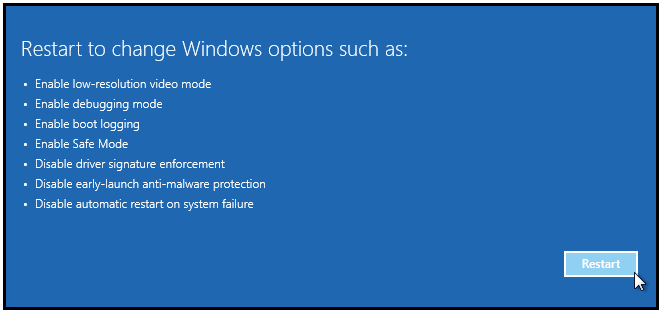
List of startup setting
To choose the setting, you need to press F7 key.
- System will restart now you can install third party certificate in “Trusted Root Certification Authorities” category
- Disable Driver Signature Enforcement Permanently and Completely
bcdedit /set testsigning on
- Now install third party driver certificate in “Trusted Root Certification Authorities” category
- To install certificate, click certificate file resides on <path>

Extract Qualcomm Driver To Desktop and Select Certificate File
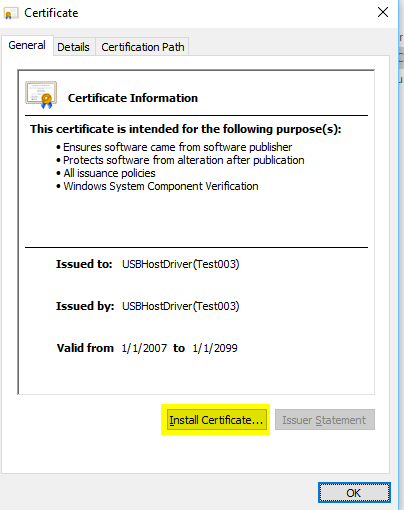
Certificate Install Step 1
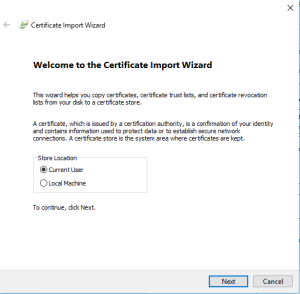
Certificate Install Step 2
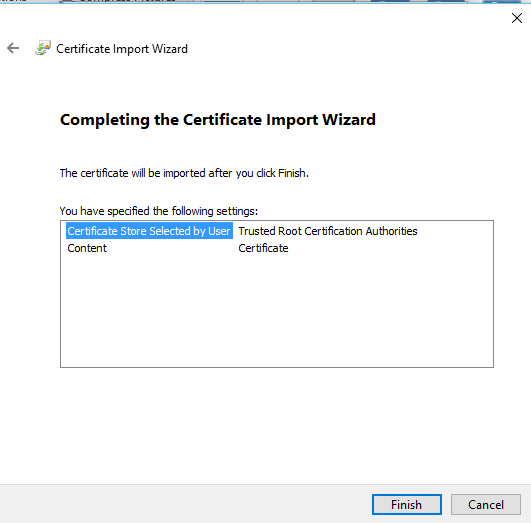
Certificate Install Step 3
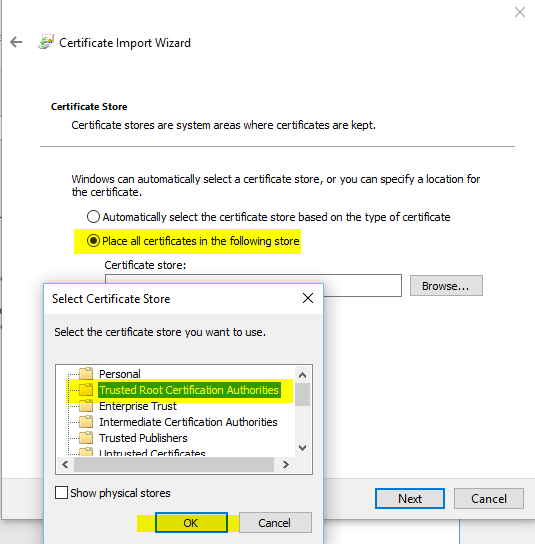
Certificate Install Step 4
After the completion of Certificate installation proceed with downloading Qualcomm Emergency drivers.
Follow below steps:
- Open Command prompt and go to the directory where Qualcomm Emergency driver’s folder is located
cd C:\Users\ ..\Desktop\Qualcomm CDMA Technologies MSM\Drivers
- Then type below commands which will install the Qualcomm Emergency drivers
PnPUtil -i -a msmdm.inf

PnPUtil -i -a qcmdm.inf

PnPUtil -i -a qcser.inf
- Reboot your PC
Next, Verify if your windows phone device is detected by Windows phone recovery tool. If yes, you can proceed as below.
Step 2: Flash Windows Phone device with Original FFU
- Open “Windows Phone Internal Tool”
- Go to Flash “Flash original FFU”
- Select FFU downloaded from http://www.lumiafirmware.com/ for your device. To find out exact FFU image check the “info” section in Windows Phone Internal.
- For my device its “RM-821 VAR IMEA INDIA CV BLACK”
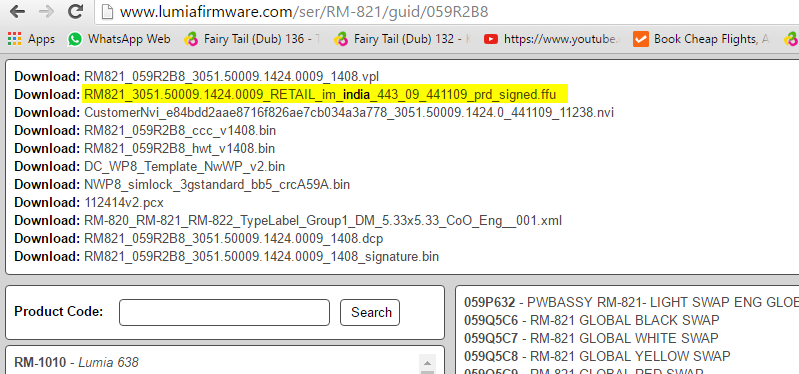
Orginal FFU download Lumia
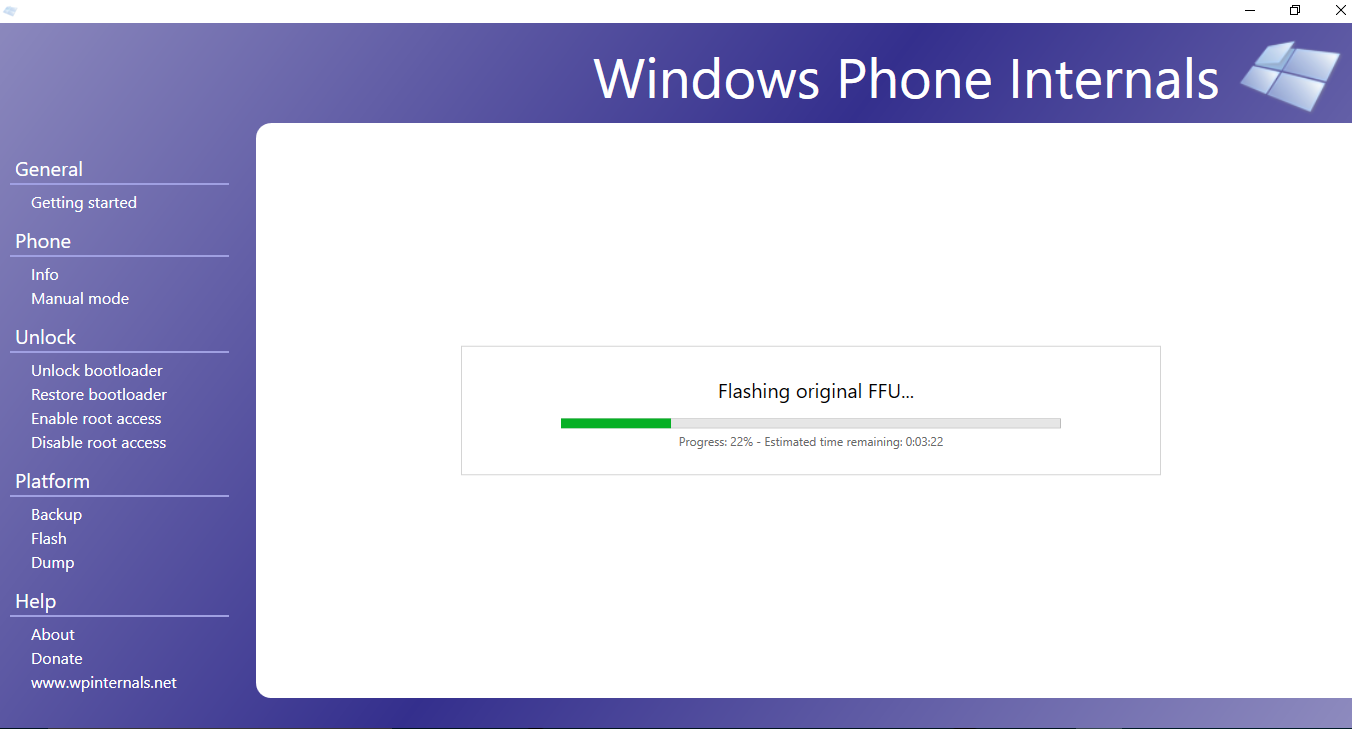
Flash using Orginal FFU
- Click Continue and Phone will restart after some time
Step 3: Download firmware for your Mobile Device using Windows phone recovery Tool
- Connect your Windows phone device using USB
- Windows phone recovery will detect your phone
- Click Install Firmware Button it will download latest firmware available for your windows phone
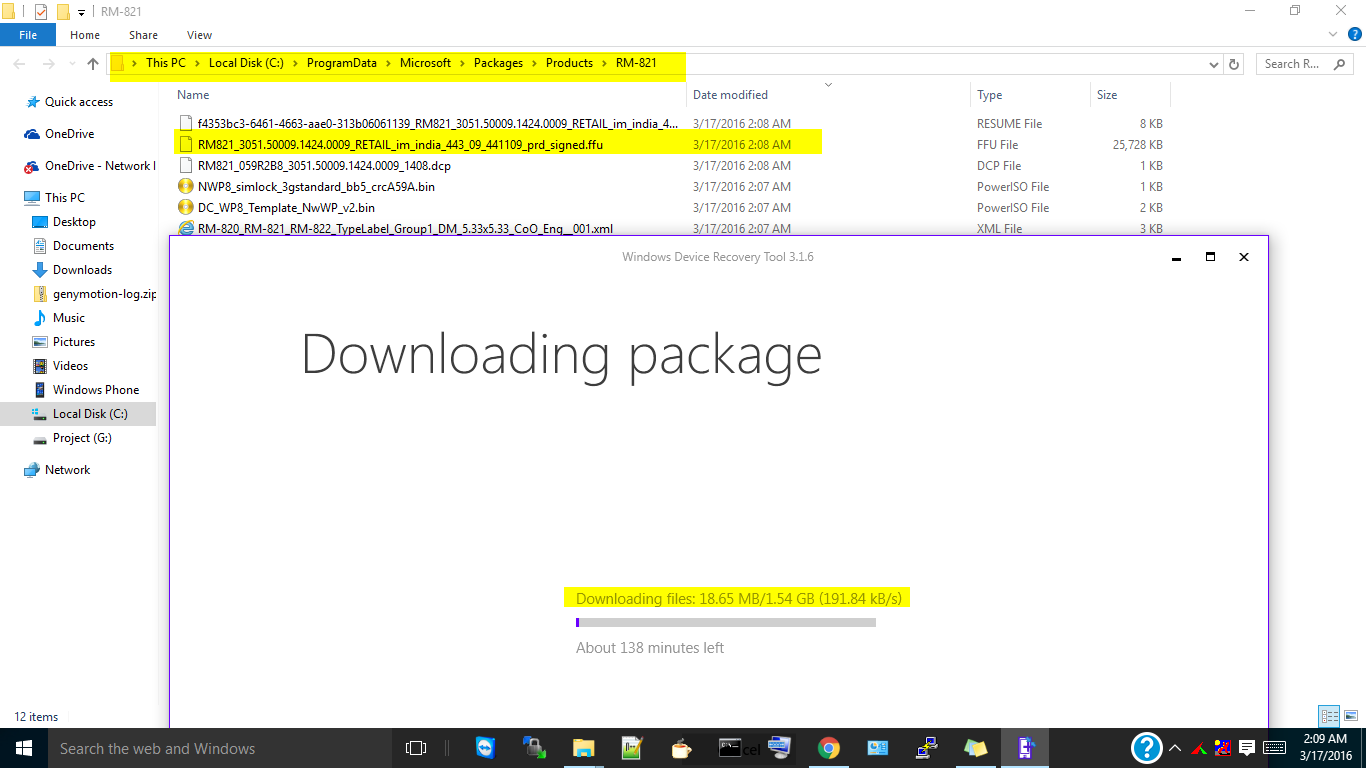
Download Latest FFU using Windows Phone Recovery Tool
The downloaded FFU image and all the file can be found below location:
“C:\ProgramData\Microsoft\Packages\Products\RM-821”
Step 4: Generating HEX file which allows Windows Phone to go into windows emergency Mode
- Extract gtp0.bin from FFU Image
Cd C:\Program Files (x86)\Microsoft Care Suite\Windows Device Recovery Tool
thor2 -mode ffureader -ffufile ” C:\ProgramData\Microsoft\Packages\Products\RM-821\XXX.ffu” -dump_gpt -filedir G:\MobilePentest\LUMIA920
Destination Folder: “G:\MobilePentest\LUMIA920”
Output will be “Exited with Success” Message as shown in below screenshot
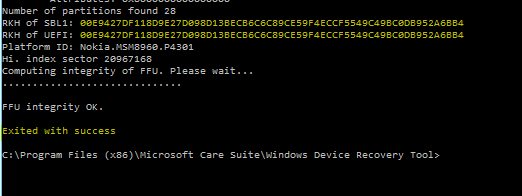
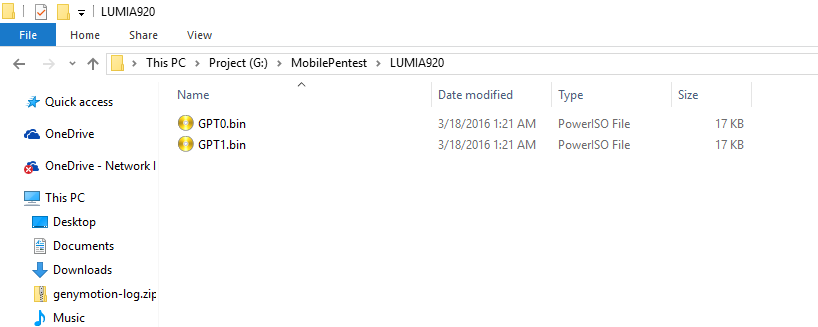
Destination Folder of GPT0
- Above command will create gpt0.bin and rename it as msimage.mbn
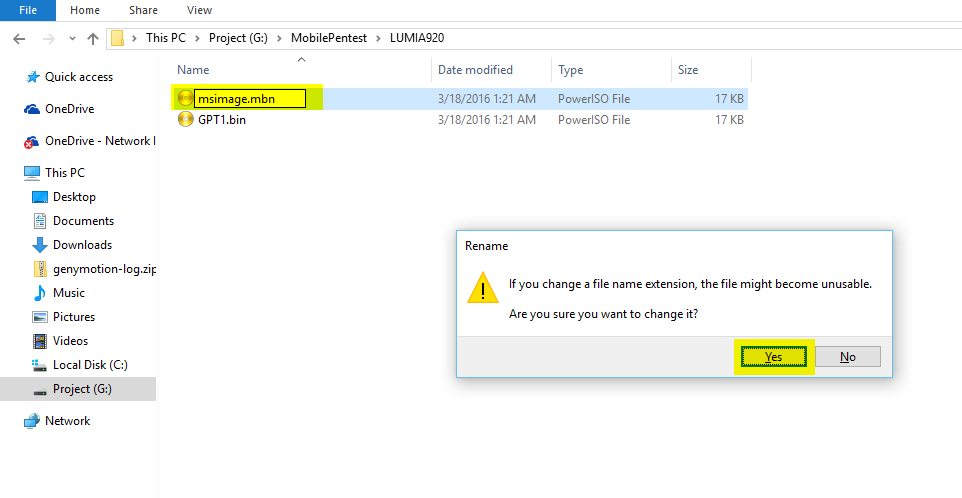
Rename GPT0 file to msimage
- Generating HEX file for Binary file using bin2hex (Download bin2hex)Download bin2Hex file and placed in “G:\MobilePentest\LUMIA920” directoryCd G:\MobilePentest\LUMIA920 bin2hex gpt1.bin
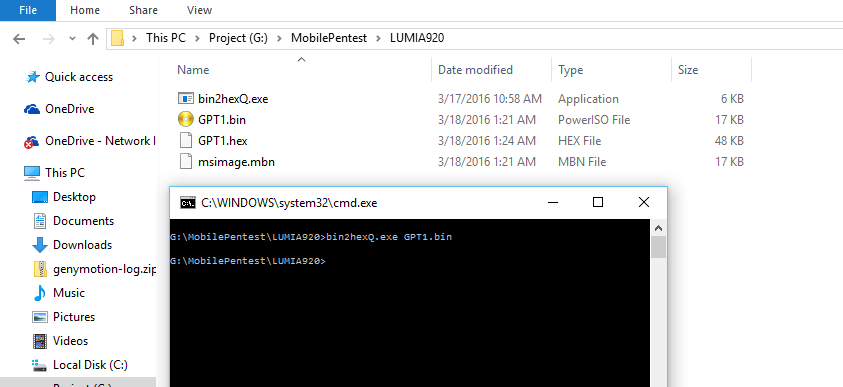
bin2hex
Step 5: Final Step Unlock Boot Loader Setting using Windows Phone Recovery Tool
(Make Sure Windows Device is Connected via USB)
- Go to Unlock Boot Loader
- Windows Phone internal will ask user to “switched to flash-mode” click “OK” and Phone will reboot in to flash mode
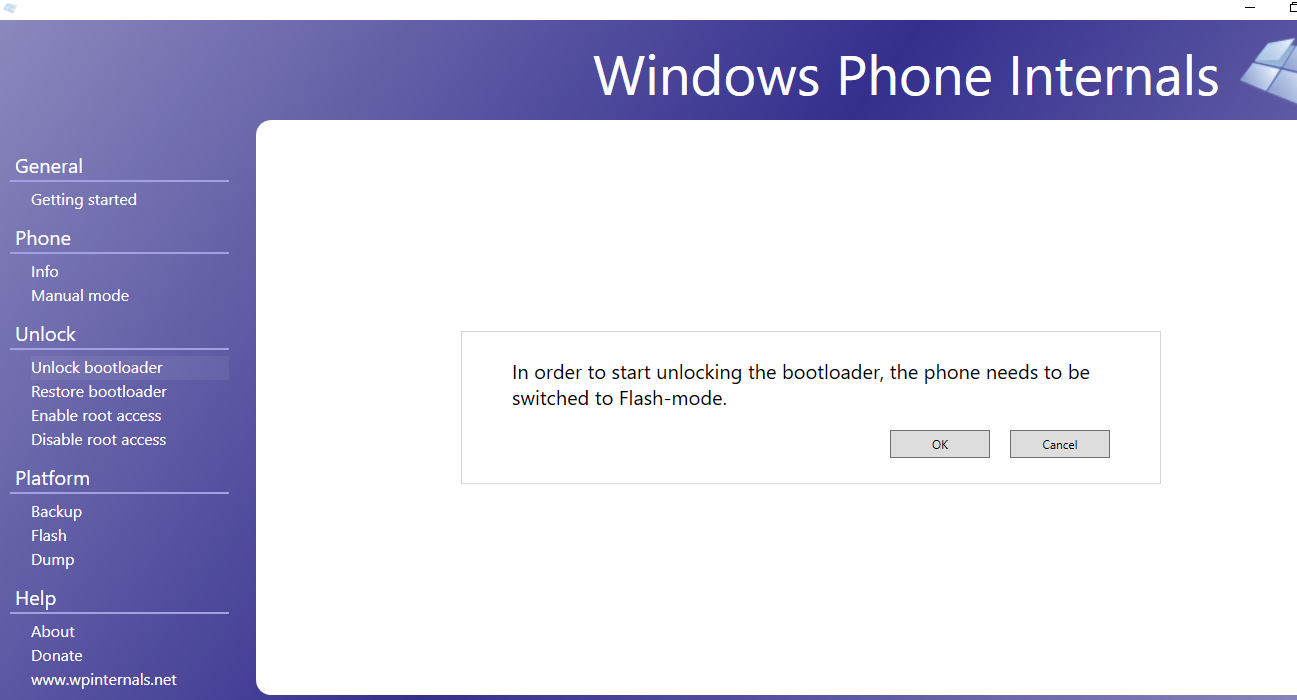
Unlock Boot Loader 1
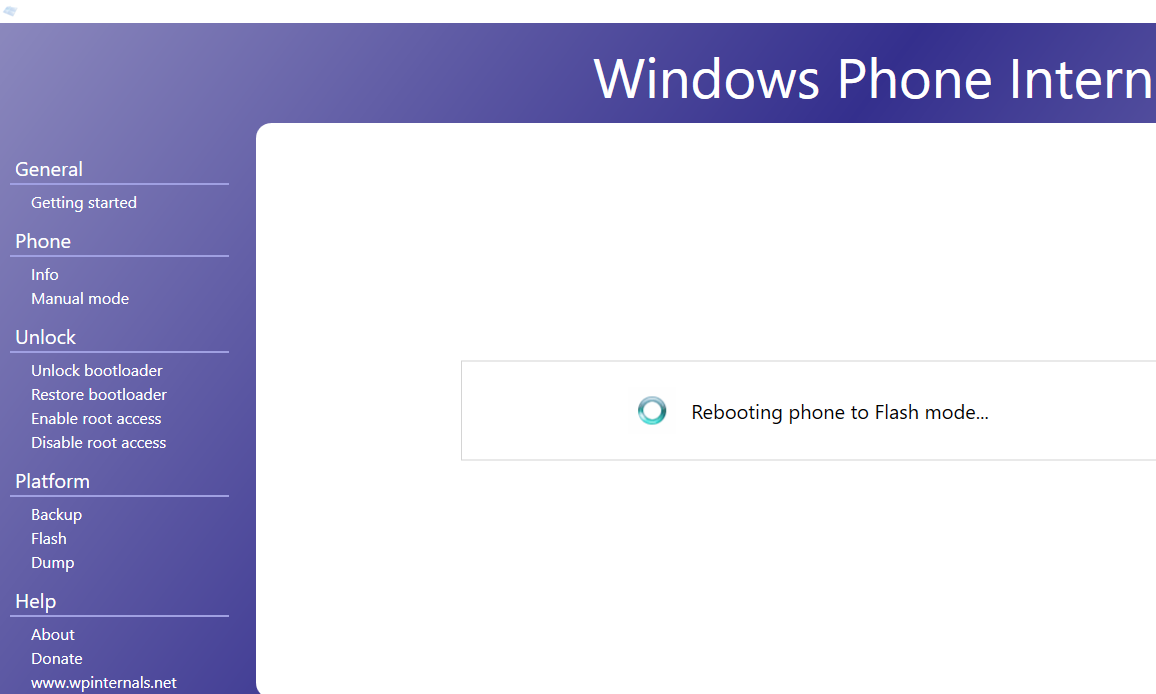
Unlock Boot Loader 2
- Resource for Flashing” screen will appear once device enters into flash mode
- Select FFU image which was downloaded in “C:\ProgramData\Microsoft\Packages\Products\RM-821”
- Select Emergency folder located at “G:\MobilePentest\LUMIA920”
- Select SBL3 file for your phone device (SBL3 Download)
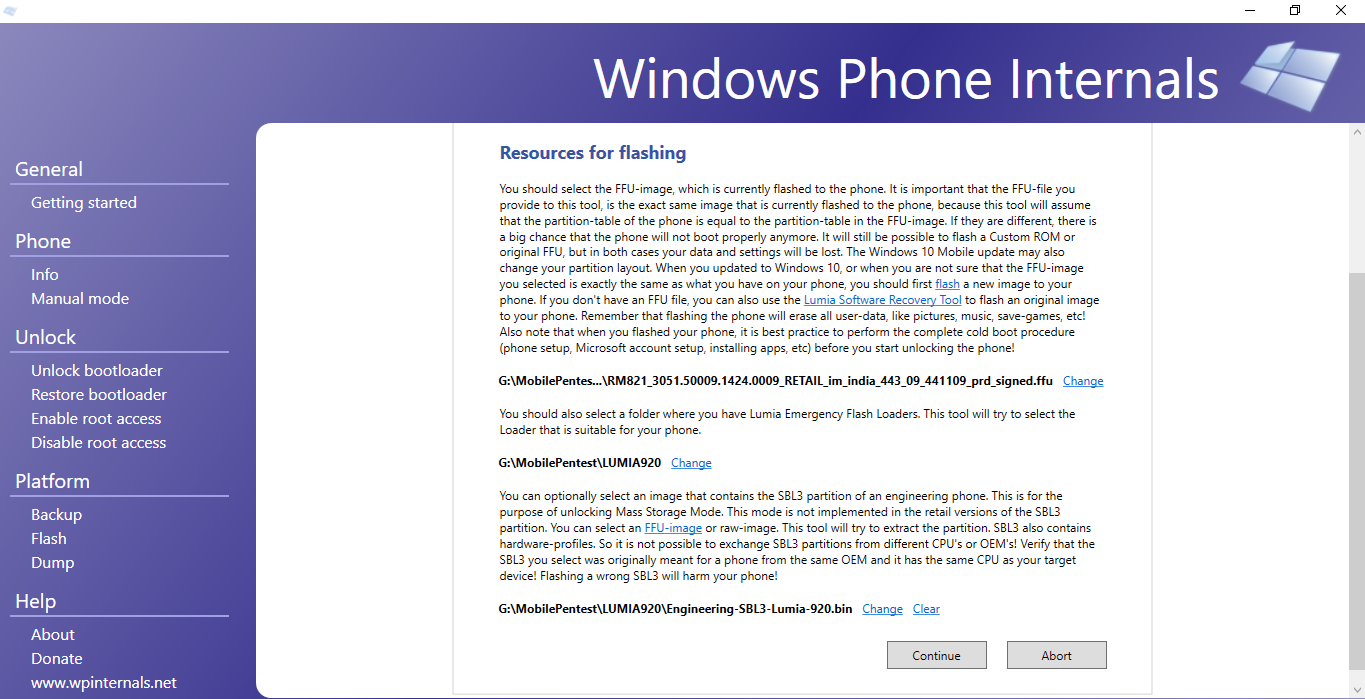
Unlock Boot Loader 3
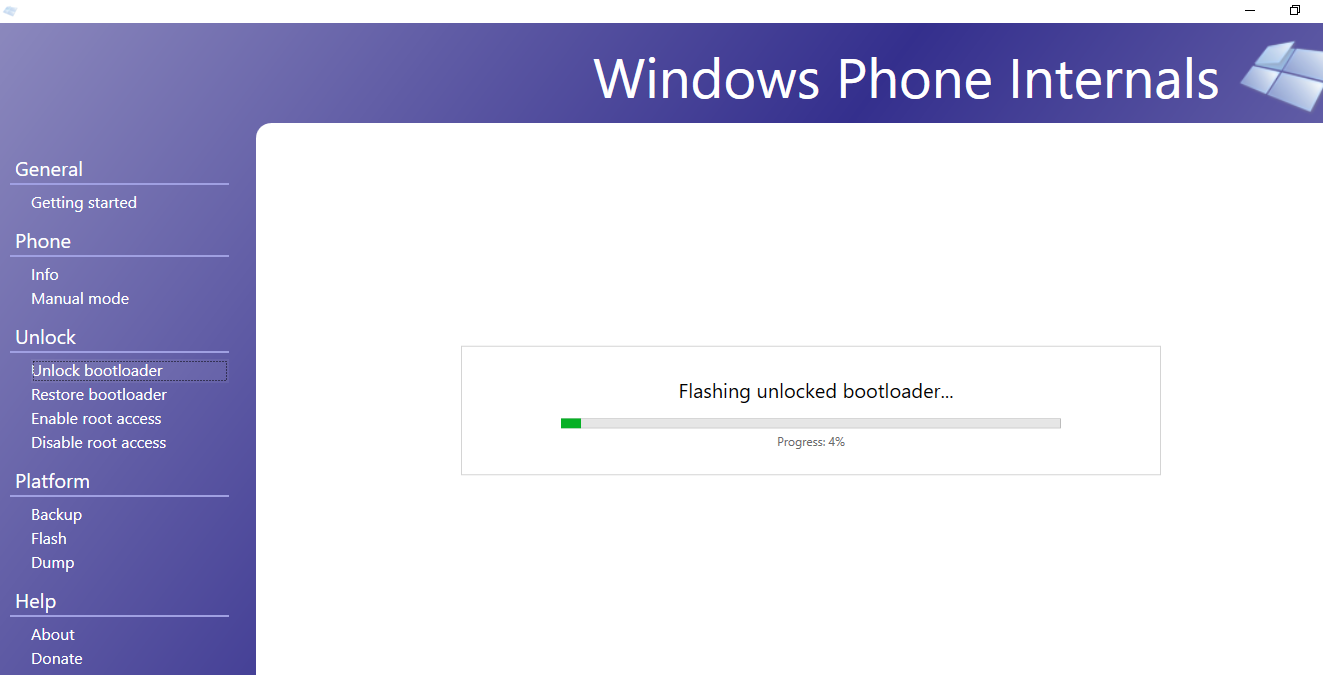
Unlock Boot Loader 4
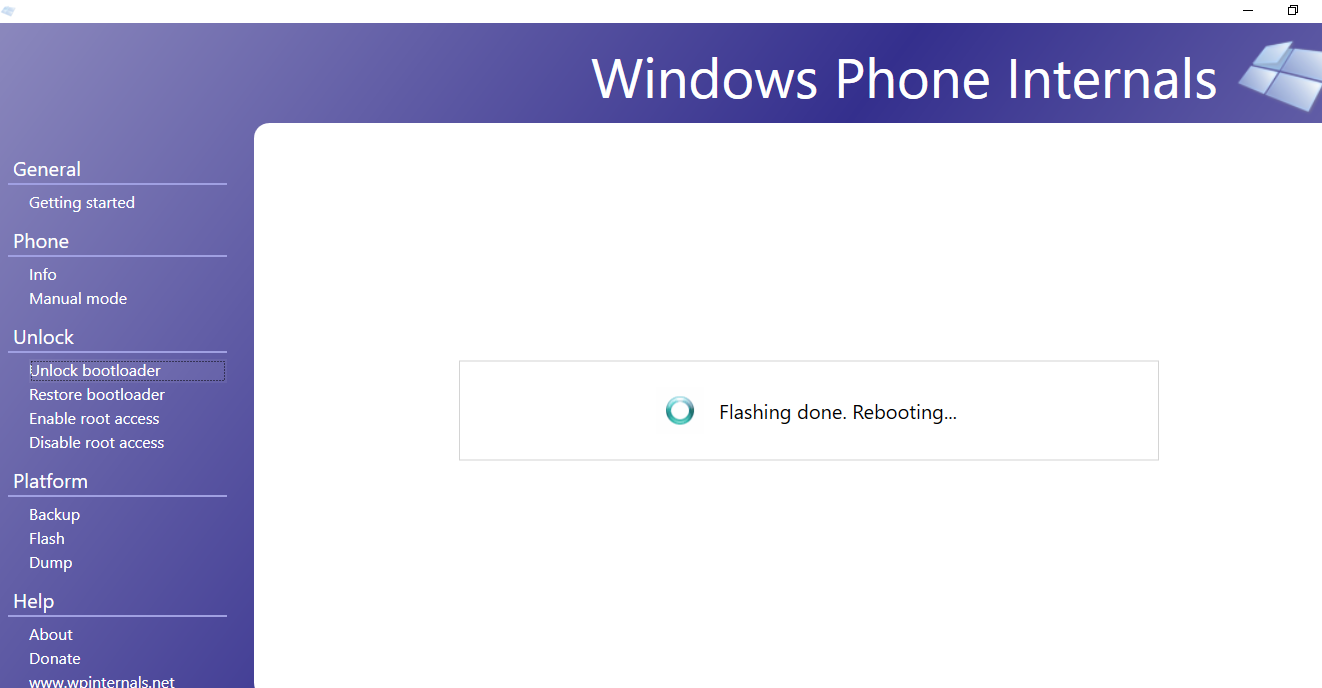
Unlock Boot Loader 5
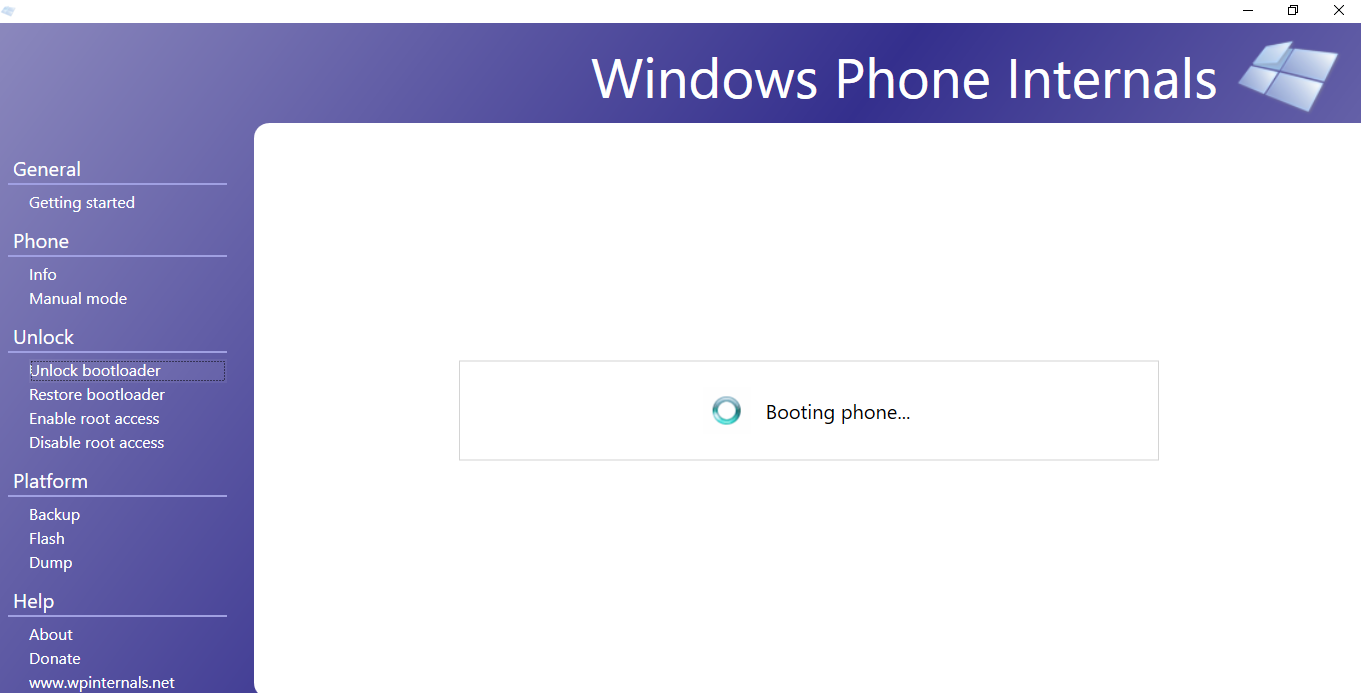
Unlock Boot Loader 6
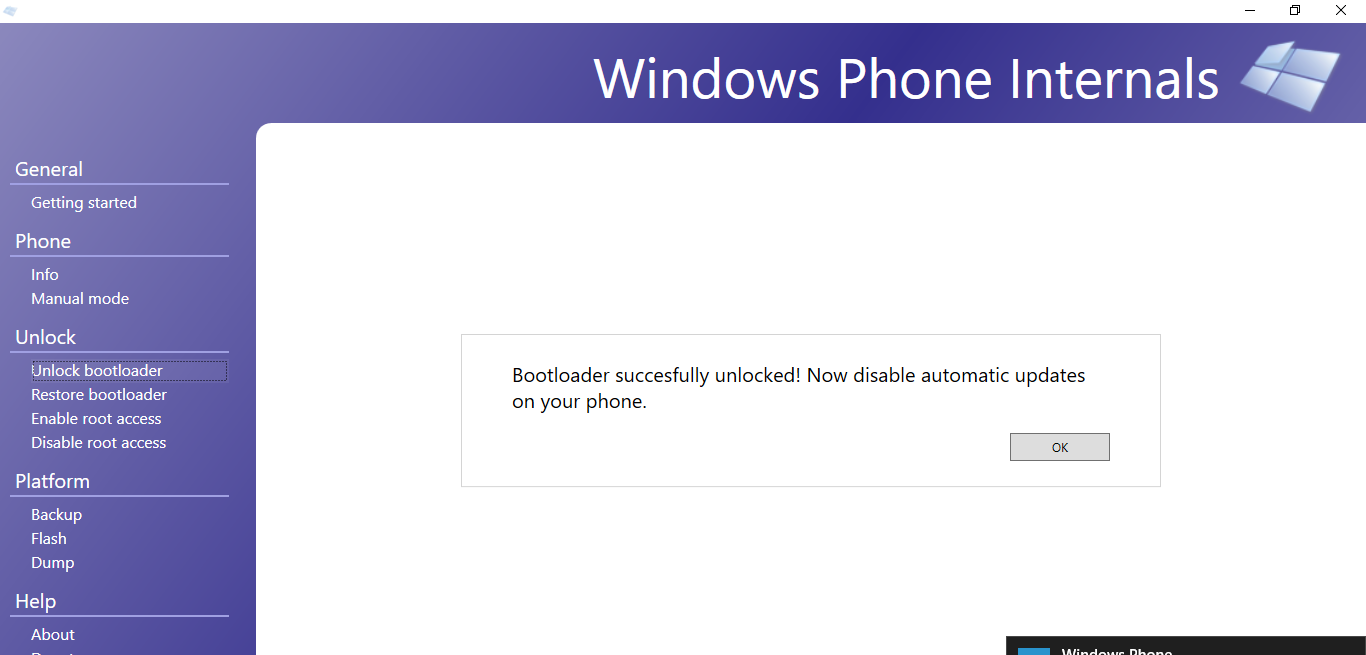
Unlock Boot Loader 7
- Click Continue this will unlock you Windows phone device.
Accessing Internal Storage using Windows Phone Internal
- Launch windows phone internal with connected windows phone device
- Go to Root Access à “Enable Root Access Directly on Phone”
- Click “Unlock Phone”
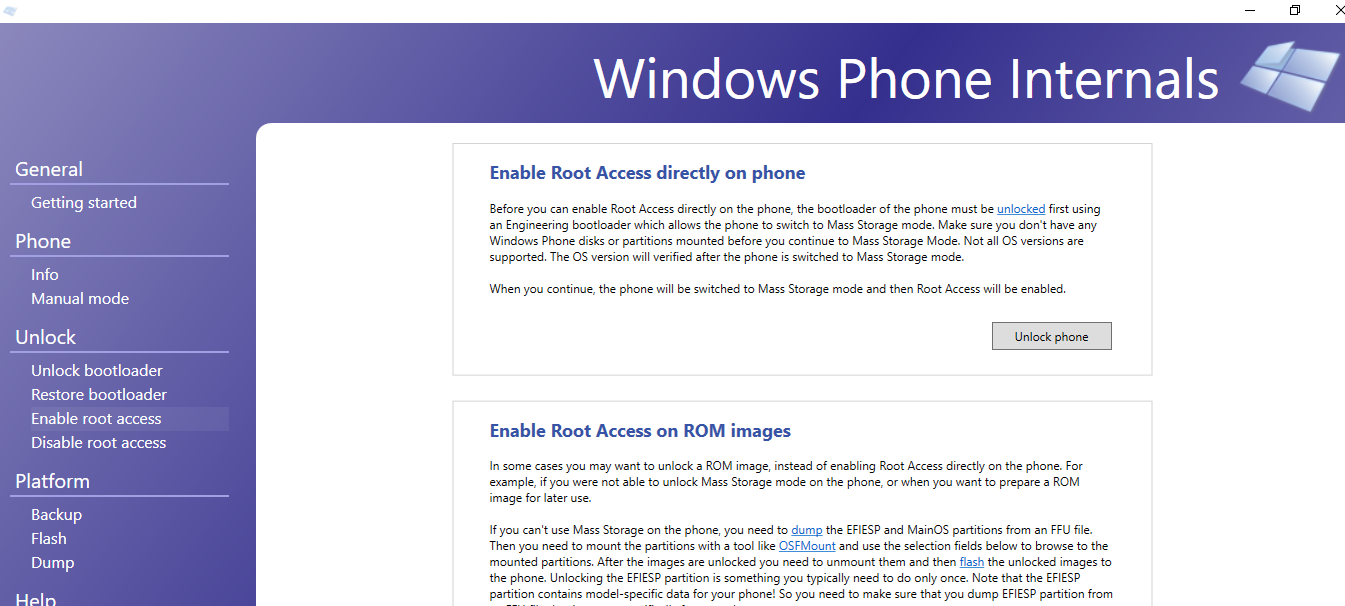
Enable Root Access
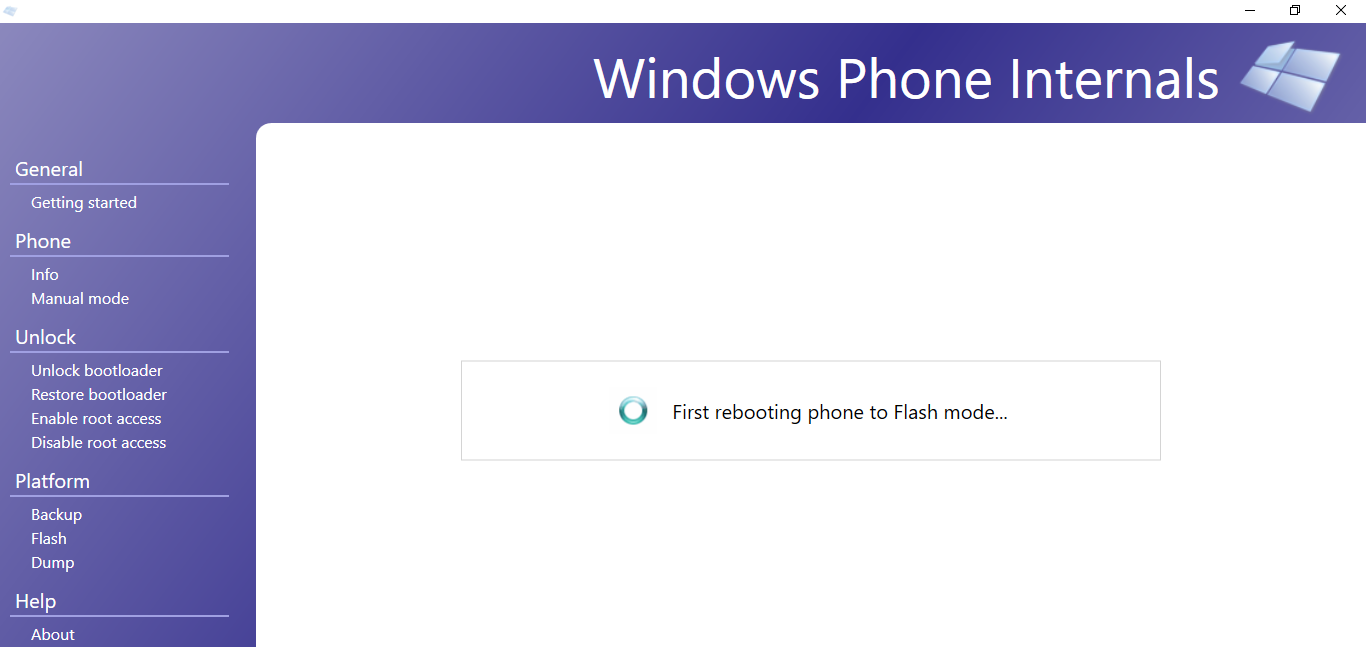
Enable Root Access 2
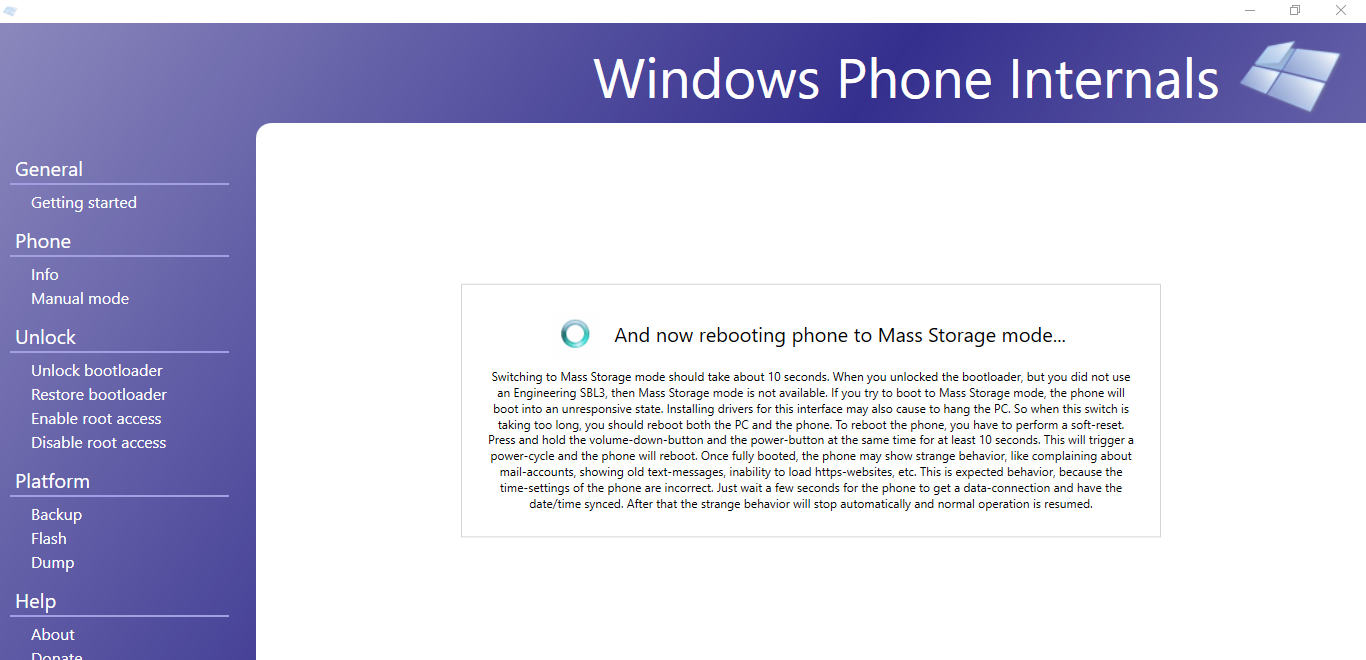
Enable Root Access 3
- This will mount the internal storage on your OS
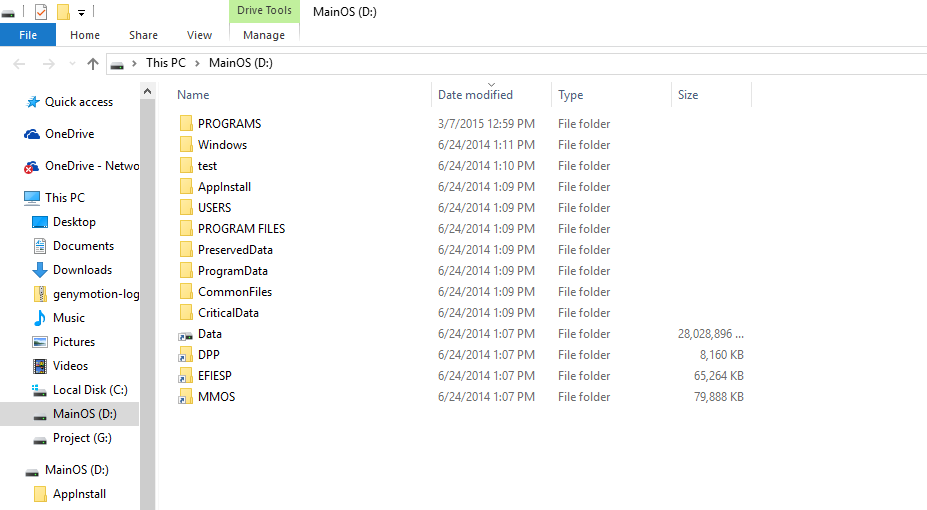
Viola!! We have access to internal storage of device with root privileges.
Stay tuned for Windows Mobile Application security part II 🙂


Leave a Reply
Your email is safe with us.